Install Dimodelo Data Warehouse Studio
Dimodelo Data Warehouse Studio is the Data Warehouse development environment where you design, generate and deploy your data warehouse solutions.
Dimodelo Data Warehouse Studio is a plug-in for Visual Studio (at the time of publishing, Visual Studio 2019 is supported).
Prerequisites
Because Dimodelo Data Warehouse Studio is a Visual Studio (VS) plug-in it is a requirement that Visual Studio 2019 is installed on the PC prior to installing Dimodelo Data Warehouse Studio. Dimodelo Data Warehouse Studio will download and install the VS 2019 Shell version if VS 2019 is not present on the PC. However, Dimodelo is compatible with any version of VS 2019 including Community, Professional and Enterprise. If one of these is present, Dimodelo Data Warehouse Studio is installed in “integrated mode”. This means you simply see a new kind of project template (Dimodelo Solutions) when creating new projects.
Install “Dimodelo Data Warehouse Studio for Azure”
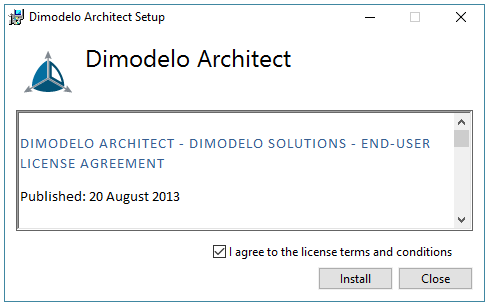
- Double click on DimodeloWarehouse.exe. The following window will appear. Tick to agree to the terms and conditions, and then Click Install.
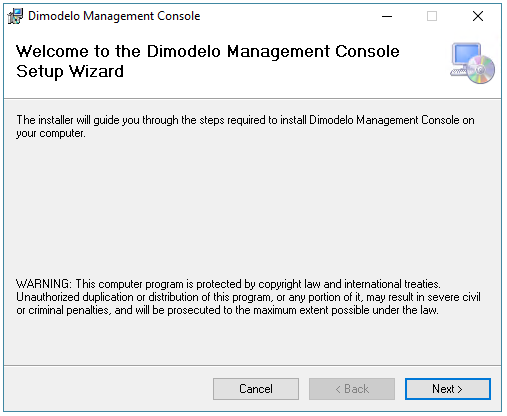
- The Dimodelo Management Console installer window appears. Dimodelo Management console is a small .NET app that is used to run and orchestrate ETL batch runs. It’s the same software you would install on a test or Production server to run and monitor batches. On the window that appears, Click Next.
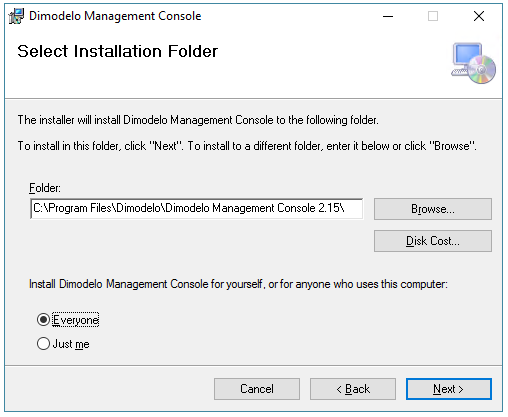
- Select Everyone, then Click Next.
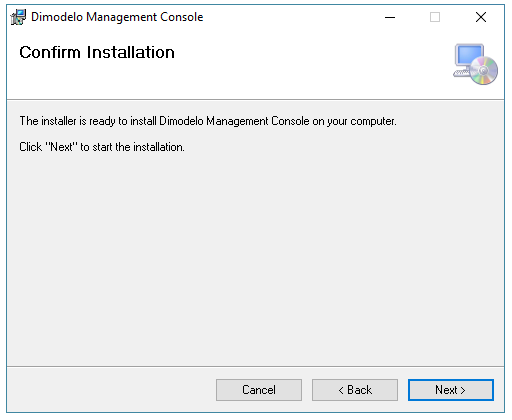
- Click Next on the confirmation dialog.
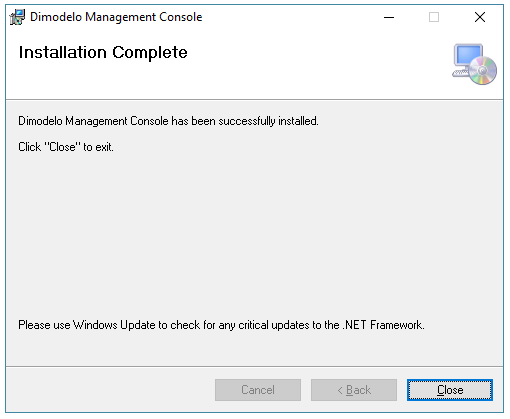
- Click Close.
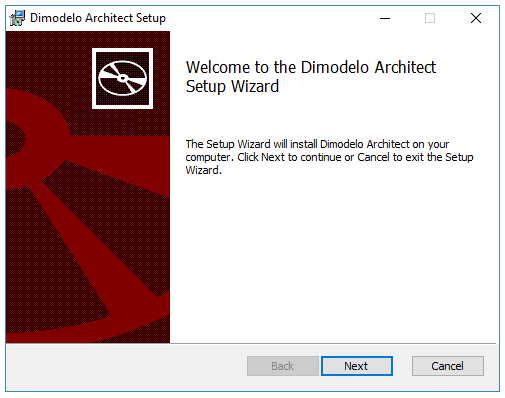
After the Dimodelo management Console is installed, the Dimodelo Data Warehouse Studio installer window appears.
- Click Next.
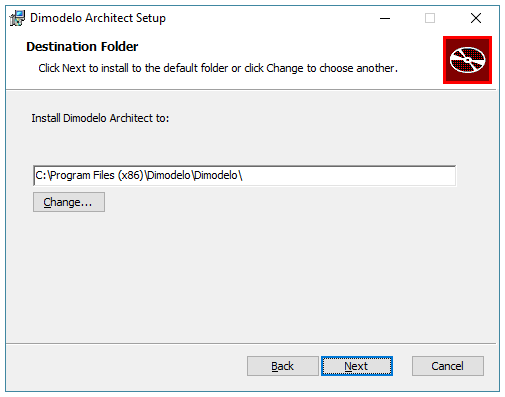
- Choose where you want to install the software. Typically in the default folder. Dimodelo Data Warehouse Studio is a 32-bit application because VS is a 32-bit application. Dimodelo Management Console is a 64-bit application, therefore ETL batches run as 64 bit. Click Next.
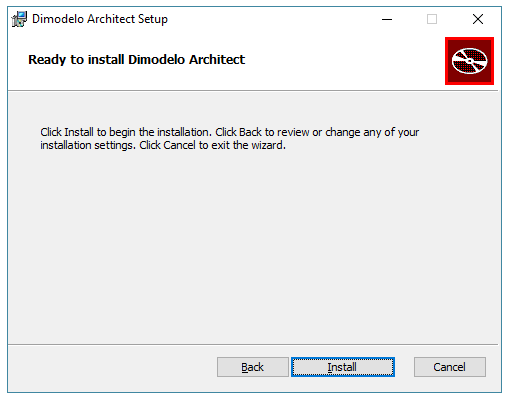
- Click Install.
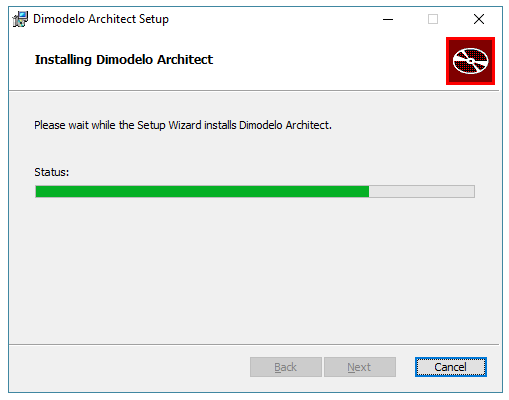
- Wait for the install to finish. It can take a couple of minutes, with nothing apparently happening.
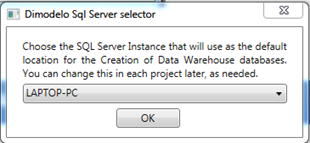
- If more that one local instance of SQL Server is present on the PC, the installer discovers the local instances of SQL Server and asks you to nominate one as the default Server for development. If you are targeting SQL Server on-premise, New projects are created with a configuration that targets the selected server. This can be changed on a project by project basis later.
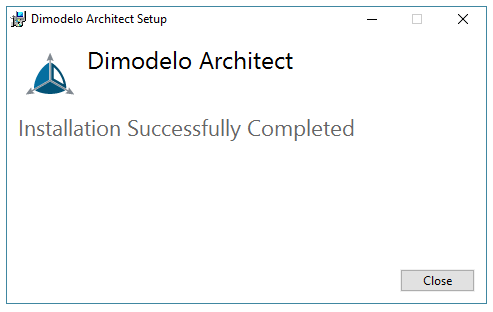
- Once complete, Click Finish.
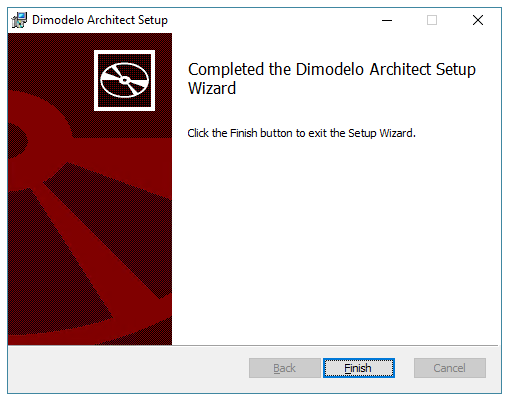
- Click Close.
Uninstall “Dimodelo Data Warehouse Studio for Azure”
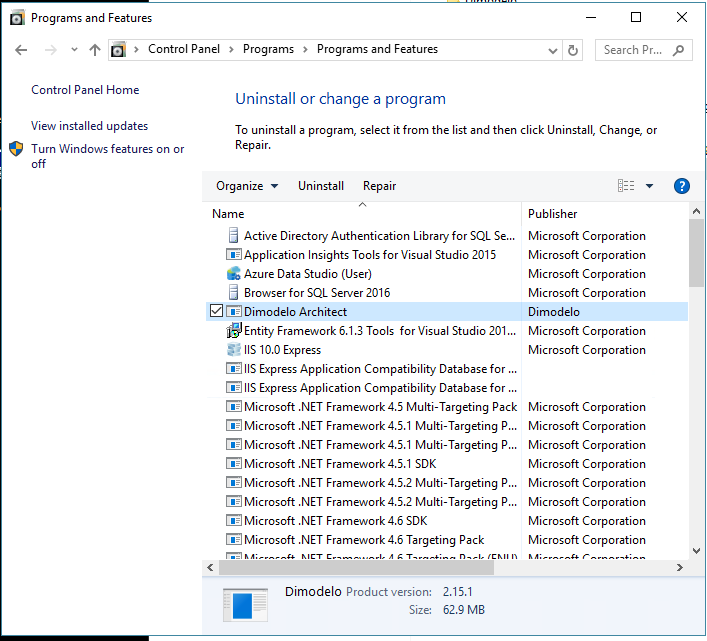
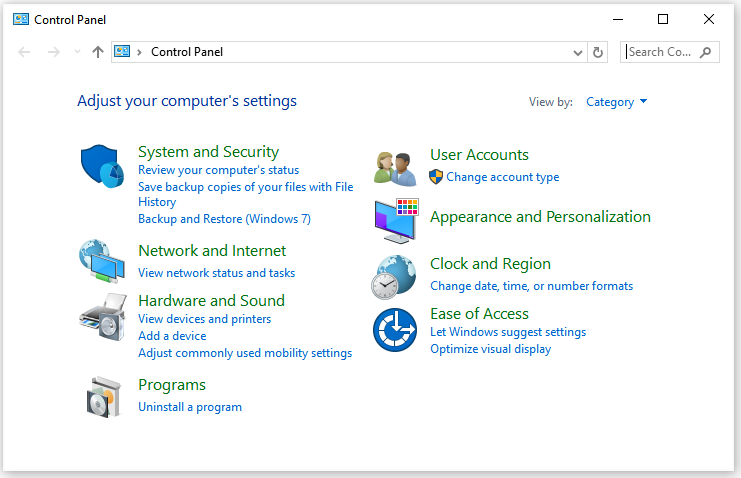
At a later time, if you need to uninstall Dimodelo Data Warehouse Studio, you can do so through the Control Panel>Uninstall a Program option.
- Open Control Panel and select Uninstall a Program.
-
- Select “Dimodelo Management Console” and Right Click>Uninstall.
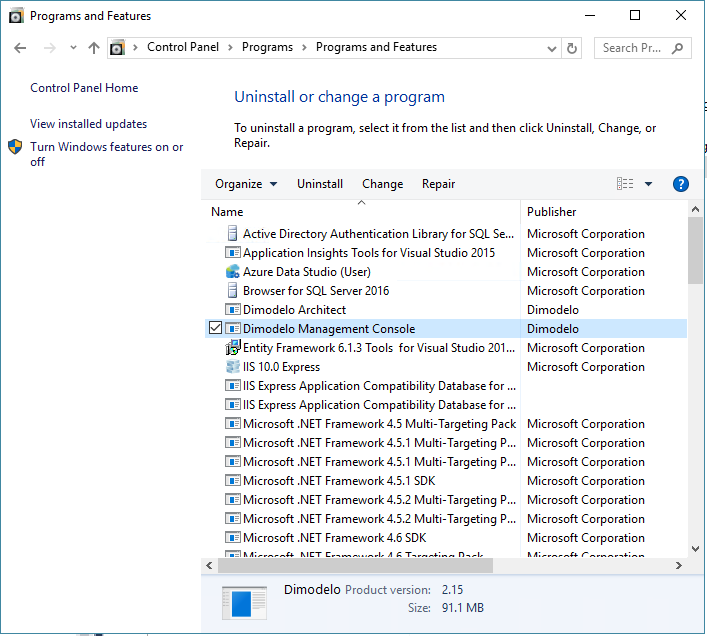
- After the previous step completes select “Dimodelo Data Warehouse Studio” and Right Click>Uninstall.